728x90
반응형
<Introduction>
입력 이미지를 특정 위치의 bounding box로 cropping (잘라내기) 하는 과정을 python으로 직접 구현하고자합니다.
opencv 라이브러리를 통해 간단하게 진행이 가능하지만, 전반적인 이미지 처리에 대한 이해를 다지고자 작성하였습니다.
<Cropping>
Cropping은 입력 이미지의 특정 부분을 잘라내어 하나의 이미지로 생성하는 과정입니다.
특정 부분은 Bounding box 형태로 4 개의 좌표가 주어져야 합니다.
start X, Y와 end X, Y 가 주어졌다고 가정했을때, Cropping 되는 이미지의 사이즈는 Bounding box의 사이즈와 동일하게 출력되어야 합니다.
출력 이미지 size = (end[X] - start[X], end[Y] - start[Y])
우리가 출력하고자하는 start X, Y와 end X, Y를 꼭지점으로 하는 bounding box는 입력 이미지의 좌표가 됩니다.
즉, 입력 이미지의 start X ~ end X 좌표와 start Y ~ end Y 좌표에 픽셀 값을 출력 이미지의 x, y 좌표에 하나씩 입력해주는 과정을 거치면 됩니다.
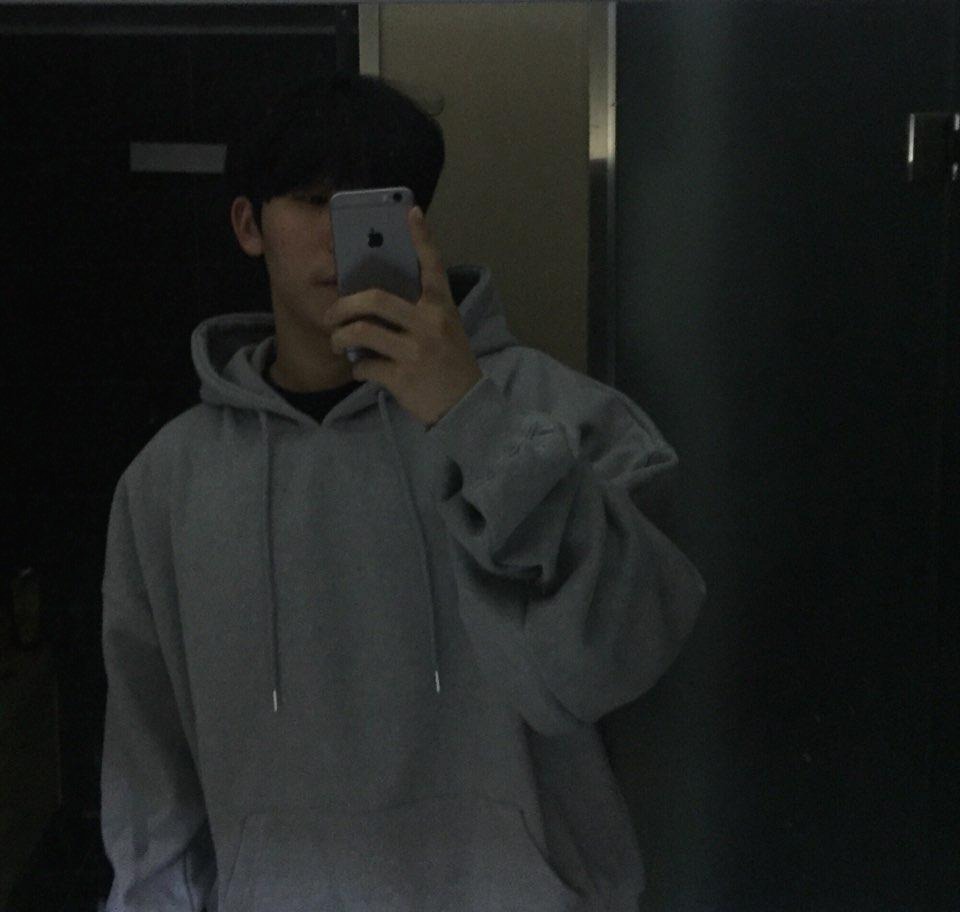
<입력 이미지>

<구현>
import  cv2
import  numpy as np
#Load image
img = cv2.imread('Image01.png')
print(img.shape, img.dtype)

#Cropped data
start = (200, 100)
end = (320, 230)
output = np.zeros((end[0]-start[0], end[1]-start[1], 3), np.uint8)
print(output.shape)
for y in range(output.shape[1]):
    for x in range(output.shape[0]):
        xp, yp = x + start[0], y+start[1]
        output[x,y] = img[xp,yp]
# save result
print(output.shape)
cv2.imwrite('./cropped image02.png',output)

<opencv>
import cv2
#Load image
img = cv2.imread('./Image01.png')
cv2.imshow('original', img)

#Cropped data
start = (200, 100)
end = (320, 230)
output = img[start[0]:end[0], start[1]:end[1]]
cv2.imwrite('./cropped image03.png',output)

728x90
반응형
'영상처리' 카테고리의 다른 글
| [영상처리] Image Luminosity (밝기)와 Contrast (대조도) - python (구현) (0) | 2022.02.15 |
|---|---|
| [영상처리] Image Flip (python 직접구현) (0) | 2022.01.21 |
| [영상처리] Image Scale (python 직접구현) (0) | 2022.01.20 |
| [영상처리] 이미지 색상 표현 (0) | 2022.01.19 |
| [영상처리] Grayscale image 만들기 (python 직접구현) (0) | 2022.01.17 |
